Instagram is a very popular photo and video-sharing social networking service also abbreviated as Insta or IG. It was owned by Facebook and created by Kevin Systrom and Mike Krieger. It was launched on iOS in October 2010, Android version in April 2012, a Fire OS operating system in June 2014, and an app for Windows 10 in October 2016. This app allows you to share media edited with filters and organized by hashtags and geographical tagging.
Instagram stories are an effective way to engage young users for your business. According to the survey in 2019, there are 500 million users in Instagram from where more than 70% of users are between ages between 18 to 29 years. Stories have integrative features like poling, questions, and AR Instagram filters which engage the young users to engage in your business.
How can we make Instagram AR filters to create filters for an event?
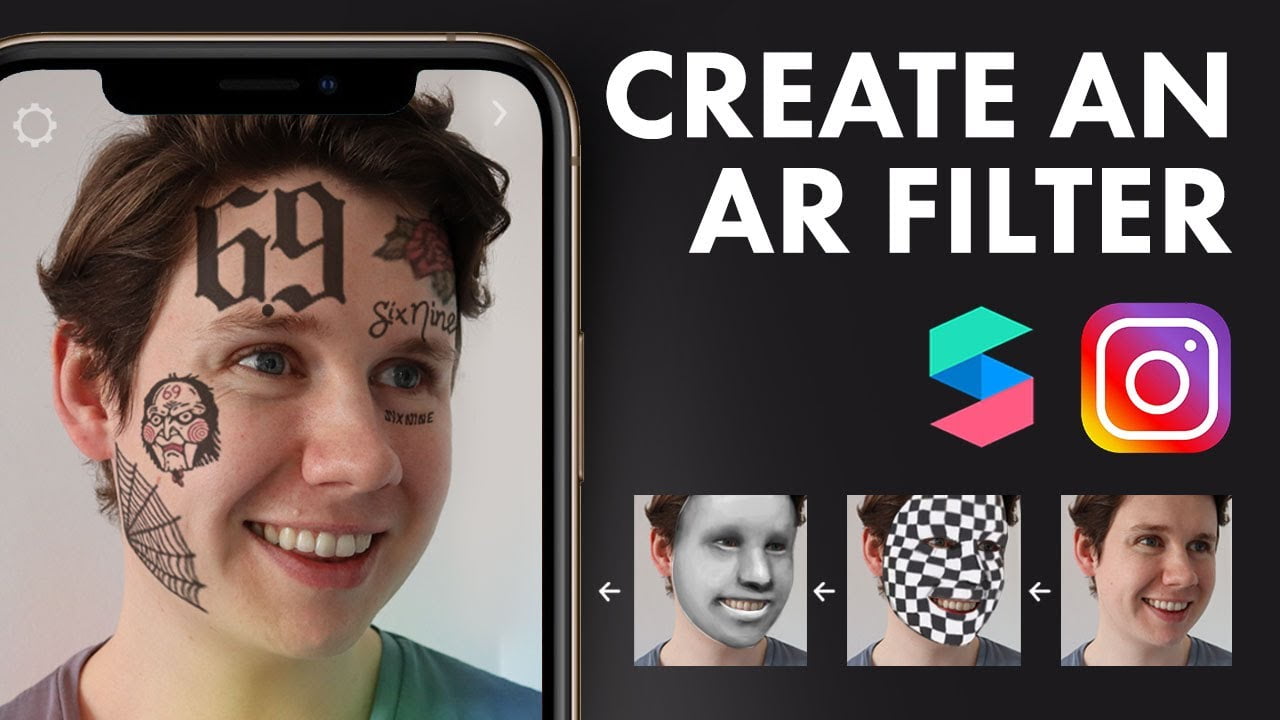
Instagram Stories use interactive Augmented Reality (AR) filters to make stories more colorful and descriptive. It seemed futuristic but Instagram uses these features since 2017 when it first launched its face filters. The Facebook-owned platform Spark AR Studios lets us create our filters. It was opened to the public in August 2019.
AR filters are the computer-generated layer with effects over the real-life photos of our camera display. It modifies the image of the front and back camera display.
Why it is need to create AR filters for Instagram Stories?
AR helps to showcase your business in many ways and here are some reasons why you must use AR fitters on Instagram.
- It will show off the personality of the brand
- It will help you to connect with your onlookers
- A filter for your brand will show the support for the social causes.
- It will increase the awareness of the Brand.
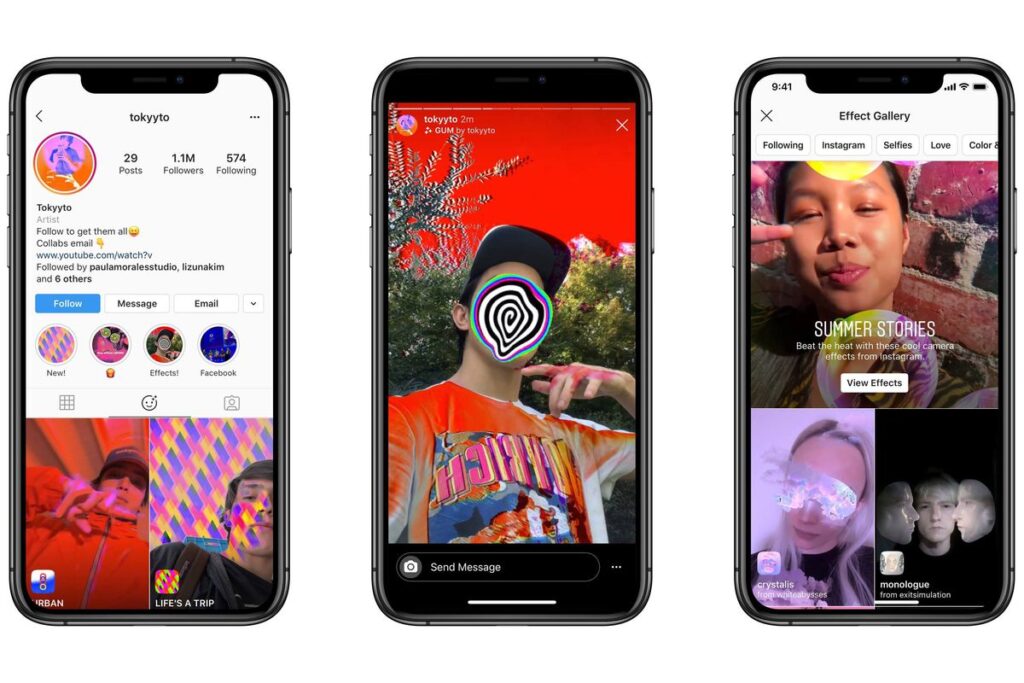
Some examples of the Instagram AR Filters are Aritzia, Coco-Cola Poland, Ines Longevial, Ray-Ban, Tiffany and Co., Hootsuite.
How to make Instagram filters for an event?
These are the following steps to create a filters for Instagram stories:-

Step 1: The Spark AR studio is an easy-to-use platform to create custom filters and effects on Instagram. You can download it from Windows and MAC Play store.
Step 2: After downloading it, if you want to feel for the program’s interference just go through the tutorial in the Learning Centre. Once you are accustomed to the interface, you are ready to get started and decide whether you want to create your filter from scratch or default eight templates
We are here going to choose the World Object template. This includes putting a 3D object into the real world just like Coco-Cola Poland with the polar bear.
Step 3: When you open the template, in the Central panel you will see a placeholder. That central panel is known as Viewport. It is the place where you build the filter. In the corner, there is an iPhone8 which is a Simulator, from where you can preview your work. We can also change the Simulator to another device. There is a Scene panel in the left corner where you edit our Instagram Stories AR filters.
As you explored the Scene panel you will able to change the directional light to give the 3D target more depth and alter the animation of the uploaded 3D object. You can choose whether the filter can be available to the front, back, or both the cameras. You can also add more elements to your effects, like additional animations, textures, and materials.
Step 4: Now you have to change the behavior of the Uploaded graphics. Upload a 3D image and choose a 3D asset for your filter from the AR Library. The AR library all you to choose free audio files animation and more.
Step 5: As you see the uploaded asset in the Viewport. By using the Scene panel, edit the asset accordingly i.e. how it moves and interacts with the real world. In a custom AR filter, the result of the edit will be shown.
For example, if you choose the change the color and intensity of the asset to ambient light the below images will show the 3D asset without ambient light at the top and ambient light below.
Step 6: After completing all the required changes in your effect, you can test your affect how it looks in the real world. You can send your file to test on Instagram or Facebook to see how it works.
You can also download Spark AR Player App to test your filter.
Step 7: Now to publish your filter press the upload button at the bottom of the left-hand corner. You can notice it right below the “Test on a Device button”.
Step 8: As you go through all the steps above you have some idea of how to create filters for events. As you do more works and keep exploring new templates you will become more professional in creating more filters in a blank canvas. So keep learning while exploring.
Note: Please note that your filter will not publish immediately. It will be reviewed under Spark AR Studio policies and guidelines. It takes few days to one week to complete its review process. It has more details in its Learning Center on submitting newly created effects for confirmation.
Also read: How To Record Screen In Windows 10?